MTG and Pokémon Proxy Cards: At-Home Printing Methods That Actually Work
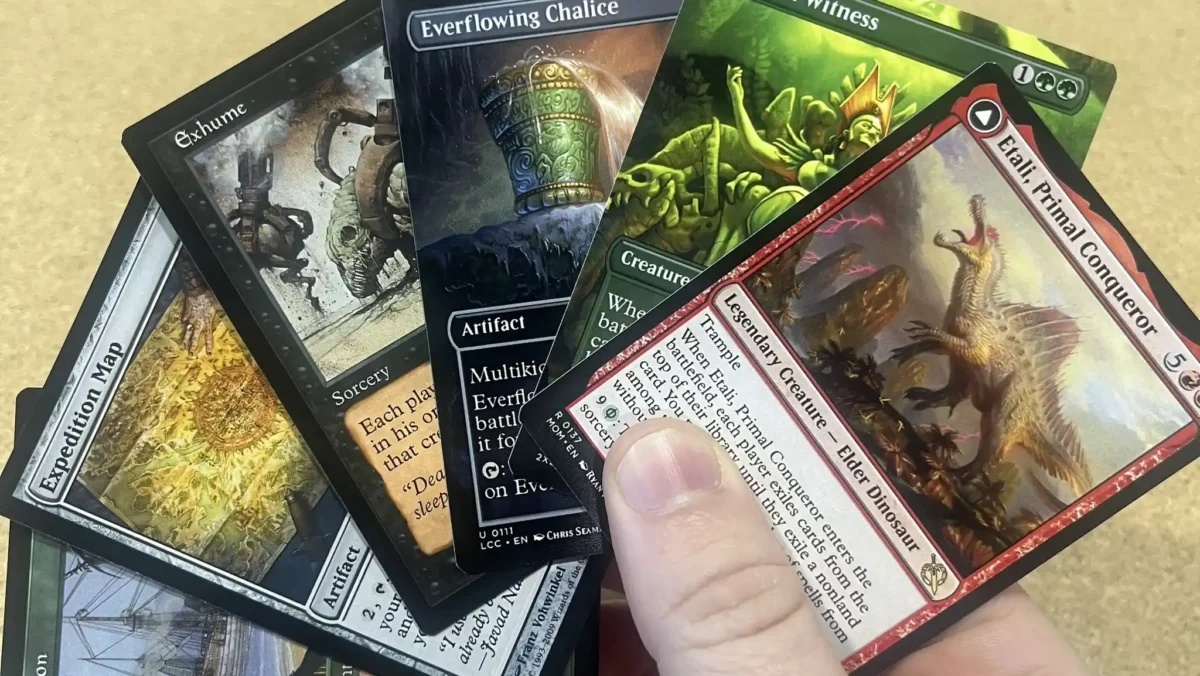
Table of Contents
Printing proxy cards at home can be surprisingly satisfying. You get to test decks, build budget Cubes, or put together a “kitchen table” Pokémon battle box without waiting on shipping or spending a fortune.
This is all about making clear, playable proxies, not counterfeits. The goal is readability, consistent sizing, and a good shuffle feel in sleeves.
TL;DR
- Fastest: print on regular paper, cut, and sleeve in front of a basic land (MTG) or common energy (Pokémon).
- Best “real card” feel at home: print the front on nicer paper, then sleeve it over a bulk card to match thickness.
- Best color: an inkjet on matte photo paper usually gives the cleanest art and text.
- Most durable: add lamination (or clear matte self-adhesive film) and round the corners.
- Expect one test sheet: every printer-paper combo needs a quick dial-in for scaling and darkness.
What “good” looks like for home proxies
If you only care about one thing, make it this: a proxy that reads cleanly across the table.
A home proxy succeeds when it nails four basics:
- Correct size: so it doesn’t feel weird in-hand or shuffle oddly.
- Crisp text: rules text and small numbers stay legible.
- Consistent thickness: so nothing feels “marked” in a sleeve.
- Durable edges: corners don’t fray after one night.
Pokémon and MTG share the same standard card size, which is great, because one workflow can serve both games.
Good / Better / Best: three home printing methods
Here’s the most practical way to choose a method, based on what you’re optimizing for.
| Method | What you print on | What you sleeve it with | Pros | Cons | Best for |
|---|---|---|---|---|---|
| Good (5-minute proxies) | Plain printer paper | Bulk card behind it | Cheapest, fastest, totally fine in sleeves | Can look “paper-y,” edges can wrinkle | Testing lists, quick Commander night |
| Better (table-ready) | Heavier paper or matte photo paper | Bulk card behind it | Sharper art, better stiffness, cleaner shuffle | More cutting time, more trial and error | Cube proxies, home drafts, casual leagues |
| Best (durable DIY) | Matte photo paper + lamination (or clear film) | Bulk card behind it | Handles like a real play piece in sleeves, corners last | Most effort, easiest to mis-trim without tools | “Keep this forever” casual decks |
A quick rule of thumb: sleeves hide almost everything except sizing and thickness. So don’t overthink fancy materials if you’re sleeving anyway.
Inkjet vs laser: which printer type is better?
Both can work. The choice is mostly about color style and paper limitations.
- Inkjet tends to win on art. If you print on photo paper (especially matte), you usually get richer gradients and cleaner images.
- Laser tends to win on speed and consistency. Text is often very sharp, and you don’t worry about wet ink, but paper compatibility can be picky, especially on thick stock.
The big “gotcha” is cardstock. Many home printers struggle to feed very thick paper, so your best upgrade is often not “thicker stock,” it’s a better paper coating (like photo paper) that makes ink sit cleanly.
Paper choices that don’t fight your printer
If you want better-looking proxies immediately, change the paper before you change anything else.
Good options:
- Matte photo paper: often the sweet spot for TCG proxies. It keeps glare down and makes text look crisp.
- Medium cardstock (printer-rated): nice for rigidity, but only if your printer can reliably feed it.
- Plain paper: totally fine if you’re sleeving over a bulk card, especially for quick testing.
One practical note: most home inkjets handle “cardstock” up to a point, but results vary a lot based on the feed path and paper coating. If your printer has a rear/manual feed, use it for heavier media.
Cutting and finishing without losing your mind
This is where home proxy quality is won or lost.
Tools that make the biggest difference:
- Paper trimmer (guillotine or rotary) for straight cuts
- Corner rounder (the standard trading card corner radius is the feel you want)
- Sleeves (they hide minor surface imperfections and protect edges)
- Optional: laminator or clear film if you want extra durability
A small workflow tip that saves time: cut in stages. Trim the sheet into long strips first, then chop into individual cards. You’ll get straighter edges with less fiddling.
File setup: the two checks that prevent 90% of problems
You don’t need fancy design software to print decent proxies, but you do need two sanity checks:
- Scale check: print a single test page, cut one card, and compare it against a real card in a sleeve. If it’s even slightly off, fix scaling before printing a whole stack.
- Safe margins: keep important text and borders away from the cut line. Home cutting is never as perfect as you think, and you want your proxies to still look clean even with tiny trim drift.
If you’re using a card layout template from a print company, follow their bleed and safe-area guides. Those templates are designed to protect you from tiny alignment errors.
Pokémon vs MTG: small differences worth knowing
Because the size is the same, the workflow is mostly identical. The differences show up in readability and art style:
- Pokémon proxies are more sensitive to print quality. Energy symbols, weakness/resistance lines, and HP numbers are small and often sit on gradients. Matte photo paper helps a lot.
- MTG proxies are more sensitive to text sharpness. Long rules text gets muddy fast if your printer is under-inking or if you’re printing on paper that feathers ink.
If you’re printing both games at home, aim your settings for crisp black text first, then tune color second. Your decks will play better when everything reads instantly.
When it’s worth not doing it at home
Home printing shines for:
- playtesting
- Cube iteration
- casual decks you tweak often
- “I want this tonight” builds
It starts to fall apart when you need:
- hundreds of cards with consistent cut and color
- a uniform finish across a whole Cube
- a stack that will survive lots of shuffling without edge wear
That’s usually the point where people either simplify (paper-in-sleeve forever) or upgrade to professionally printed play pieces.
FAQs
What paper weight should I use for proxies?
If you’re sleeving over a bulk card, paper weight matters less than print clarity. Matte photo paper is often the easiest quality upgrade without feed issues. For cardstock, use whatever your printer reliably supports.
Should I print glossy or matte?
Matte is usually better for play pieces. It cuts glare under overhead lights and still looks sharp in sleeves. Glossy can look great, but it shows fingerprints and reflections more.
Can I print double-sided at home?
You can, but alignment is the hard part. For most people, it’s easier to print fronts only and sleeve them over a real bulk card for thickness and structure.
Do I need perfect sizing if I’m sleeving?
You still want it close. Sleeves hide a lot, but if the cut is noticeably off, it feels weird in hand and can catch during shuffles.
Why do my blacks look muddy?
Usually it’s the paper. Plain paper can soak ink and feather edges. Try matte photo paper and a higher quality setting, then reduce “darkness” slightly if it over-saturates.